Tuesday, March 27, 2012

Prothane Urethane Bushings, NB Struts + Ft NB Brace, Ft Ball Joint Boots

January 2012 - I got a good deal on Craigslist for a "new in box" set of Prothane Urethane Bushings. It was a master kit and I decided to install everything except the differential bushings since I plan on a Torsen 1.8L swap in the future. I researched online and found that there are two schools of thought: Burn them out or press them out. I decided on the latter and having completed the task I can't help but wonder why anyone would use fire to extricate them. It is a long process - it took me 14+ hours, but they came out clean and it was fairly simple. I used an idea found on some site that has escaped me now utilizing $10 worth of parts found at Lowes. A threaded rod, fender washers, nuts, and a plumbing pipe to press the bushing into.


I started with the left rear control arms and sway bar endlinks. It is worth noting that I did not remove the axle as some recommended, and I don't know why anyone would go to all that trouble when it is not needed.


Then I tackled the front which was just as straightforward as the rear.

During my brake job, I noticed that my front ball joint boots were shot and my shock assemblies looked as worn as they felt going down the road so it was time for a change. I picked up some new boots at 949 Racing during a swap meet that they held, and I also got a set of 4 NB (1999-2005) shock assemblies that had a coil cut from each spring to lower the car. Eventually I plan on coilovers, but for now this would be a welcome inprovement. The main difference between NA and NB shocks is the upper mount or "tophat" - it allows for increased travel and is a better design. My wife gave me a factory NB front strut tower brace for Christmas that I also took the opportunity to install.


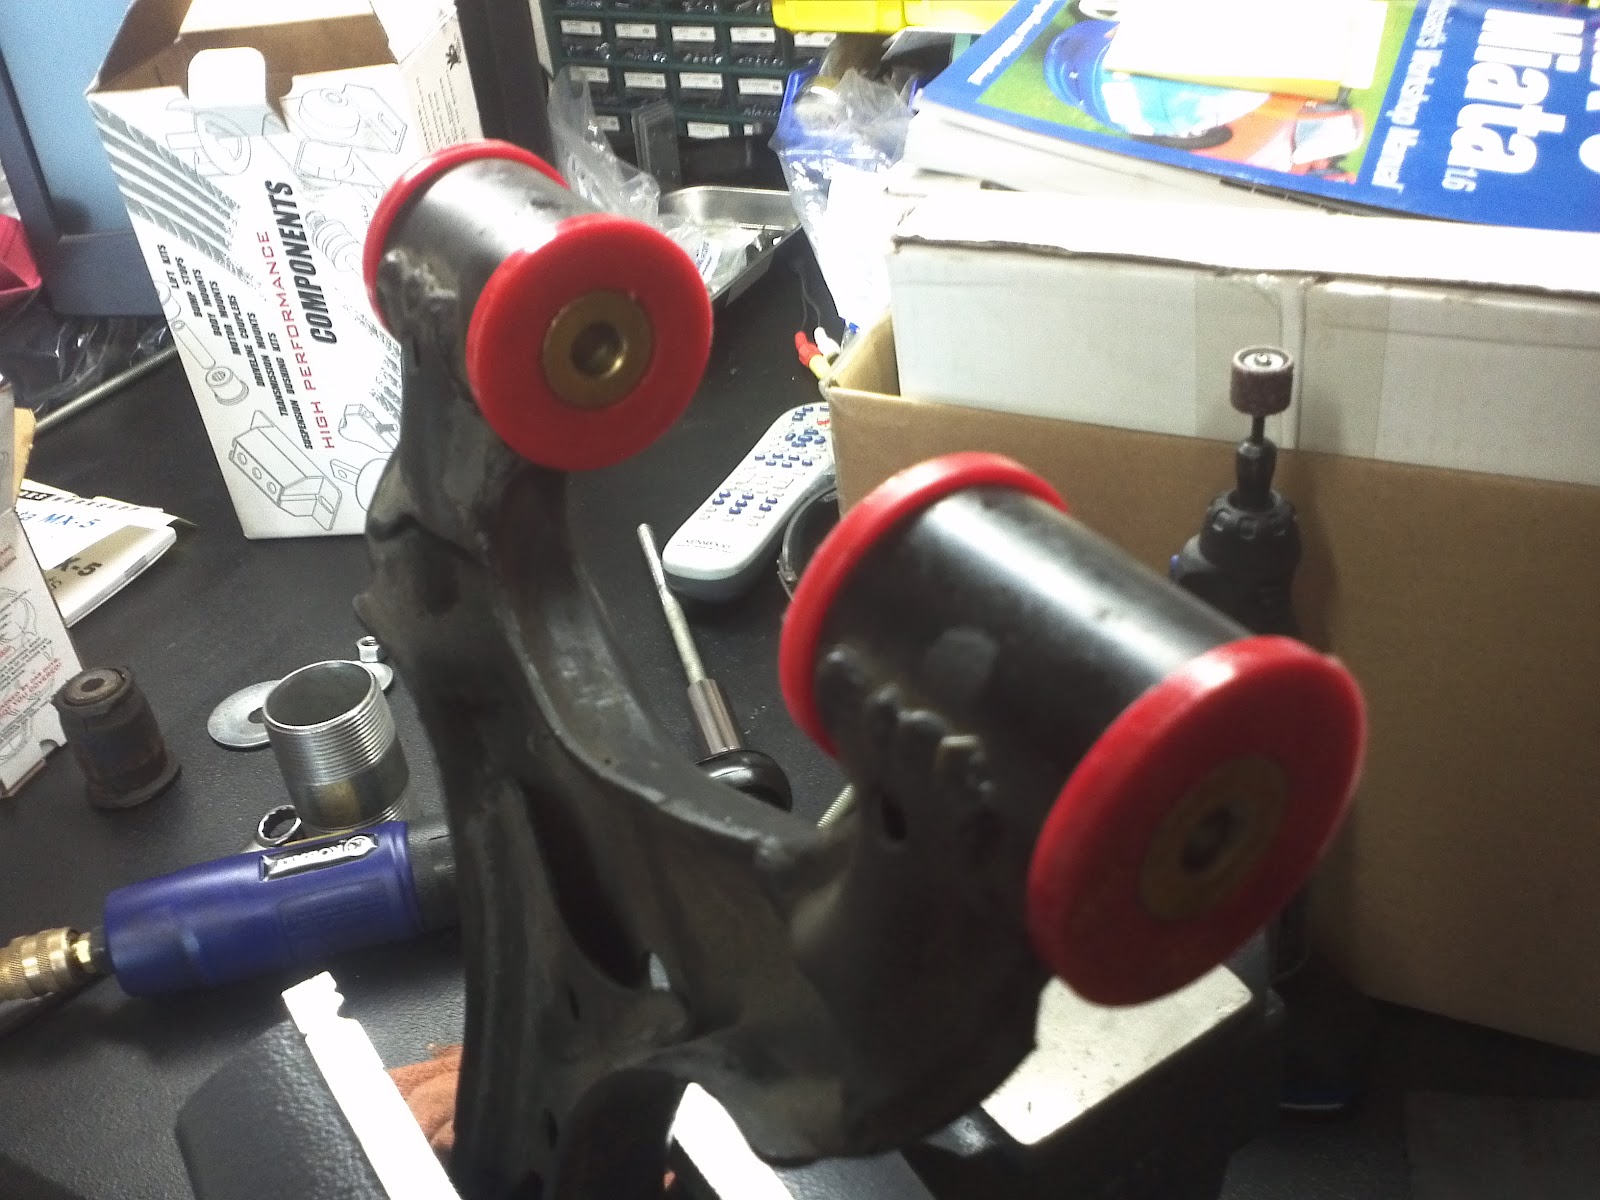
The shocks had to be disconnected to remove the control arms so they were easy to swap. The upper ball joints looked good but the lowers will need replacement in the near future. The new boots were easy to install using my vise and a large socket.

At this point I needed an alignment, but I was going to tackle the steering rack next so I waited...

No comments:

Post a Comment